


How to make a zine
Self-expression is essential and a small booklet of ideas is the perfect project for that

I’m currently making a zine called F*ck Jeff Koons. Not because I dislike him (not my favorite) but because I believe artists like him get a disproportionate amount of exposure and adulation. I want to talk about creative people who have shaped my view on art, design, and creativity.
As a former magazine art director, I have an unfair advantage when it comes to self-publishing anything. I know how the sausage gets made and I’ve always been confident about being able to DIY my way into any scary print projects.
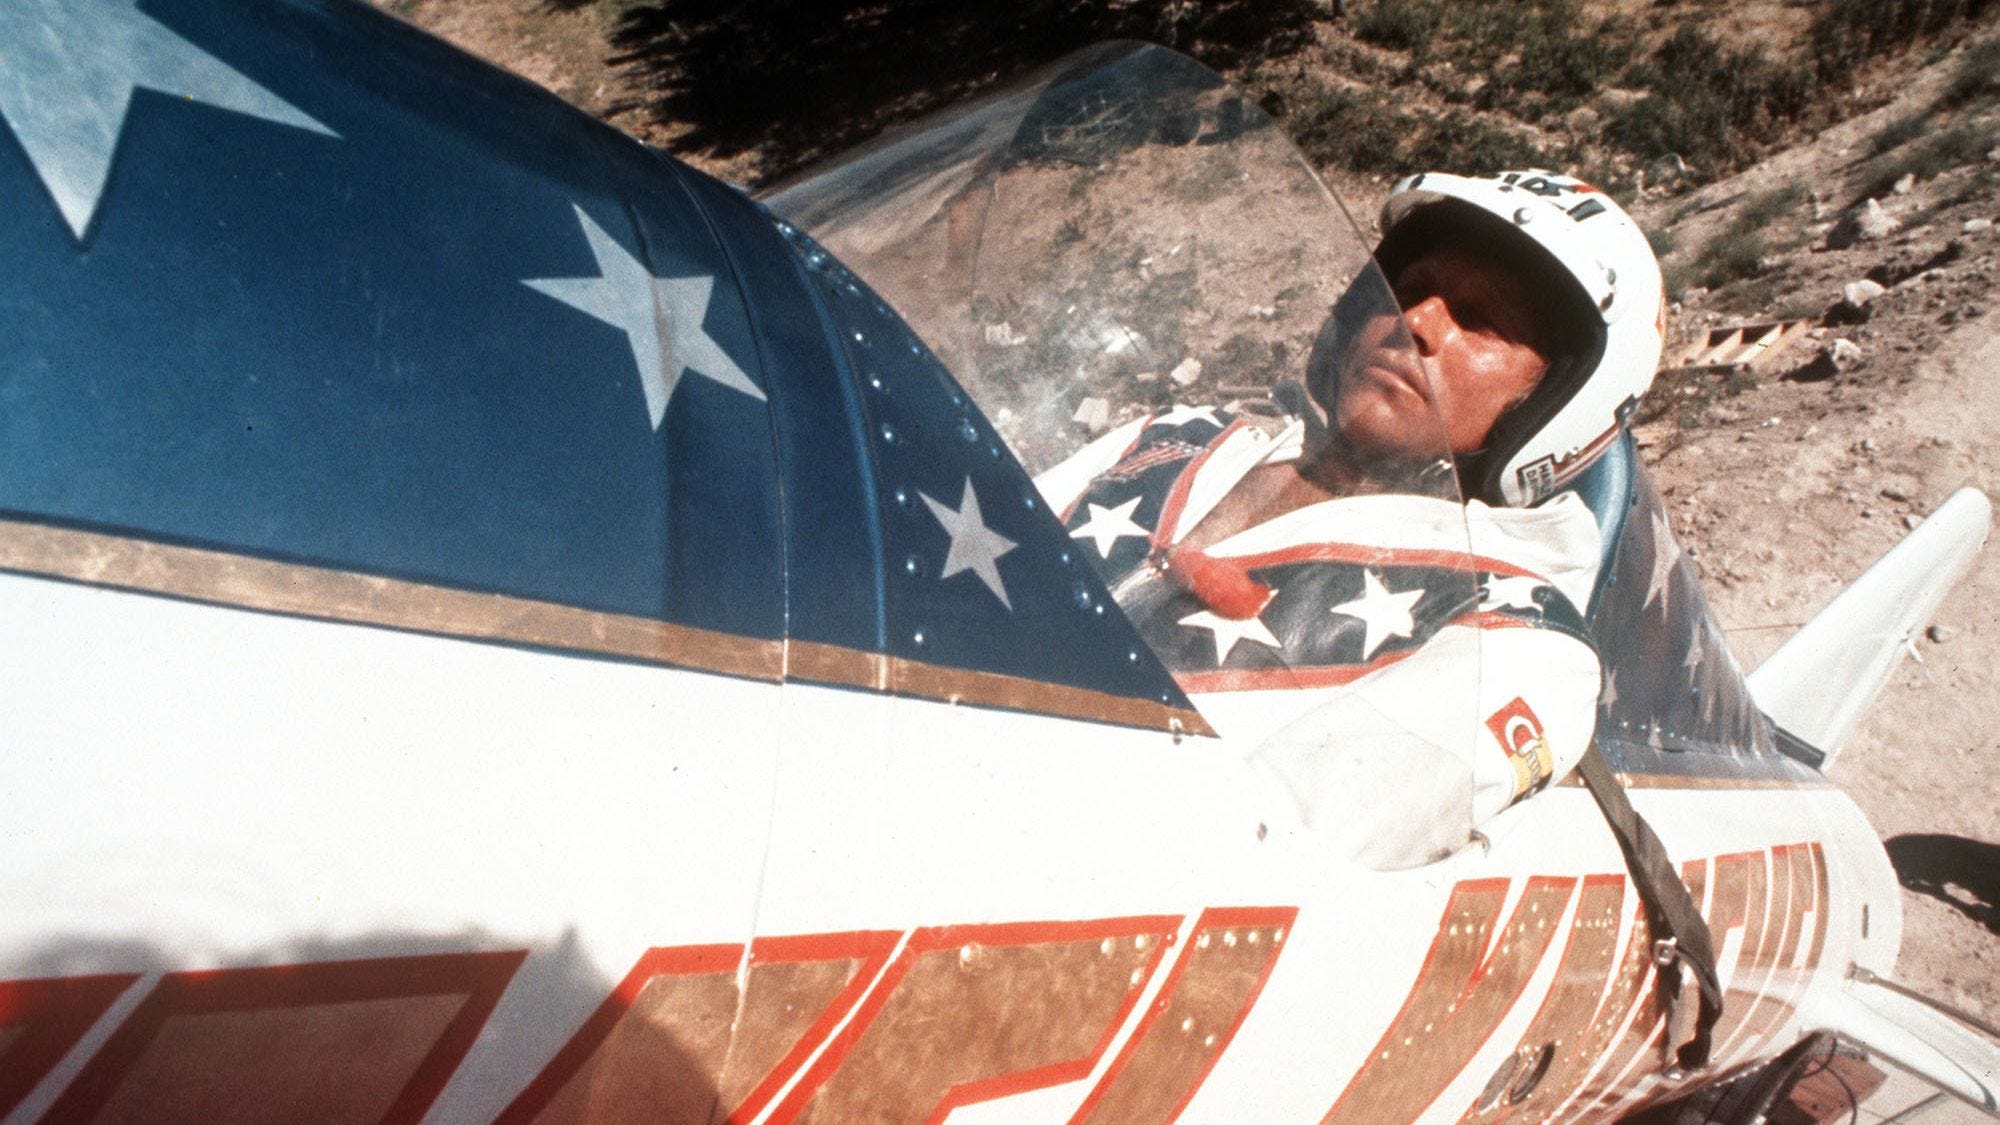
The gap between wanting to make a zine and actually making one can seem as vast as Snake River Canyon and you’re Evel Knievel in an ill-fated rocket bike, but let me share some thoughts with you to help you clear that gap and land safely.
Step 1: Have an idea
Any idea will do. It’s ok to be silly, mundane, outlandish, or self-gratifying. If you want it to be thought provoking and edgy, do that, but it’s not a requirement.
I once saw a person selling a zine about her experience sitting in a public toilet in a busy train station talking about her anxiety over pooping in public, so your zine can be about anything you want.
Step 2: Remove all self-doubt
Everyone does it, but negative self-talk is a weight you cannot bear if you plan to finish. It is a rusty anchor caught on the coral reef; an albatross around your neck reminding you of past judgment.
It holds you down, keeping you tethered to the version of yourself only you see because you refuse to embrace all the good you’ve done.
Step 3: Think small
If you’re not careful, your idea will grow quickly and you’ll think of many ways to make the zine more complicated and chock full of content, but let me share a mantra with you that I want you to repeat to yourself throughout the process.
A zine is not a magazine!
If you’re thinking of creating a list of your Top Ten favorite films of all time and squeezing it all into a single zine, you are going to feel overwhelmed by the level of content needed to manage.
Instead, consider making it about three films that changed your life, or even better, talk about a single movie and go totally ham on your free expression over that film. The beauty of that idea is that you can make a second issue of the zine and talk about another film. If you love it, you can stack up issues and share all your thoughts on all your favorite movies ever.
NOTE: I’m taking my own advice on this one, and F*ck Jeff Koons will become a multi-issue zine for people to enjoy.
Sidebar on Tools
Here’s a list of things you may want or need to make the job a little easier (these are affiliate links to help support Pieced Together).
Bone Folder - A burnisher that helps making crisp folds on paper
Long Reach Stapler - Helps bind pages together without the tricky stapling gymnastics of a regular stapler.
Slim ruler - Lays flat for accurate lines and cutting.
Self-healing cutting board - Useful for precision cutting, painting, and other tasks without marring your desk and table.
Other materials you might want are PVA glue sticks, cellophane tape (transparent if possible), washi tape (if that’s your jam), correction tape, and a myriad of pens, pencils, or crayons.
Avoid markers that bleed through. Also, I don’t recommend wet PVA glue or correction fluid because it warps paper and you may find high-spot shadows when you make copies.
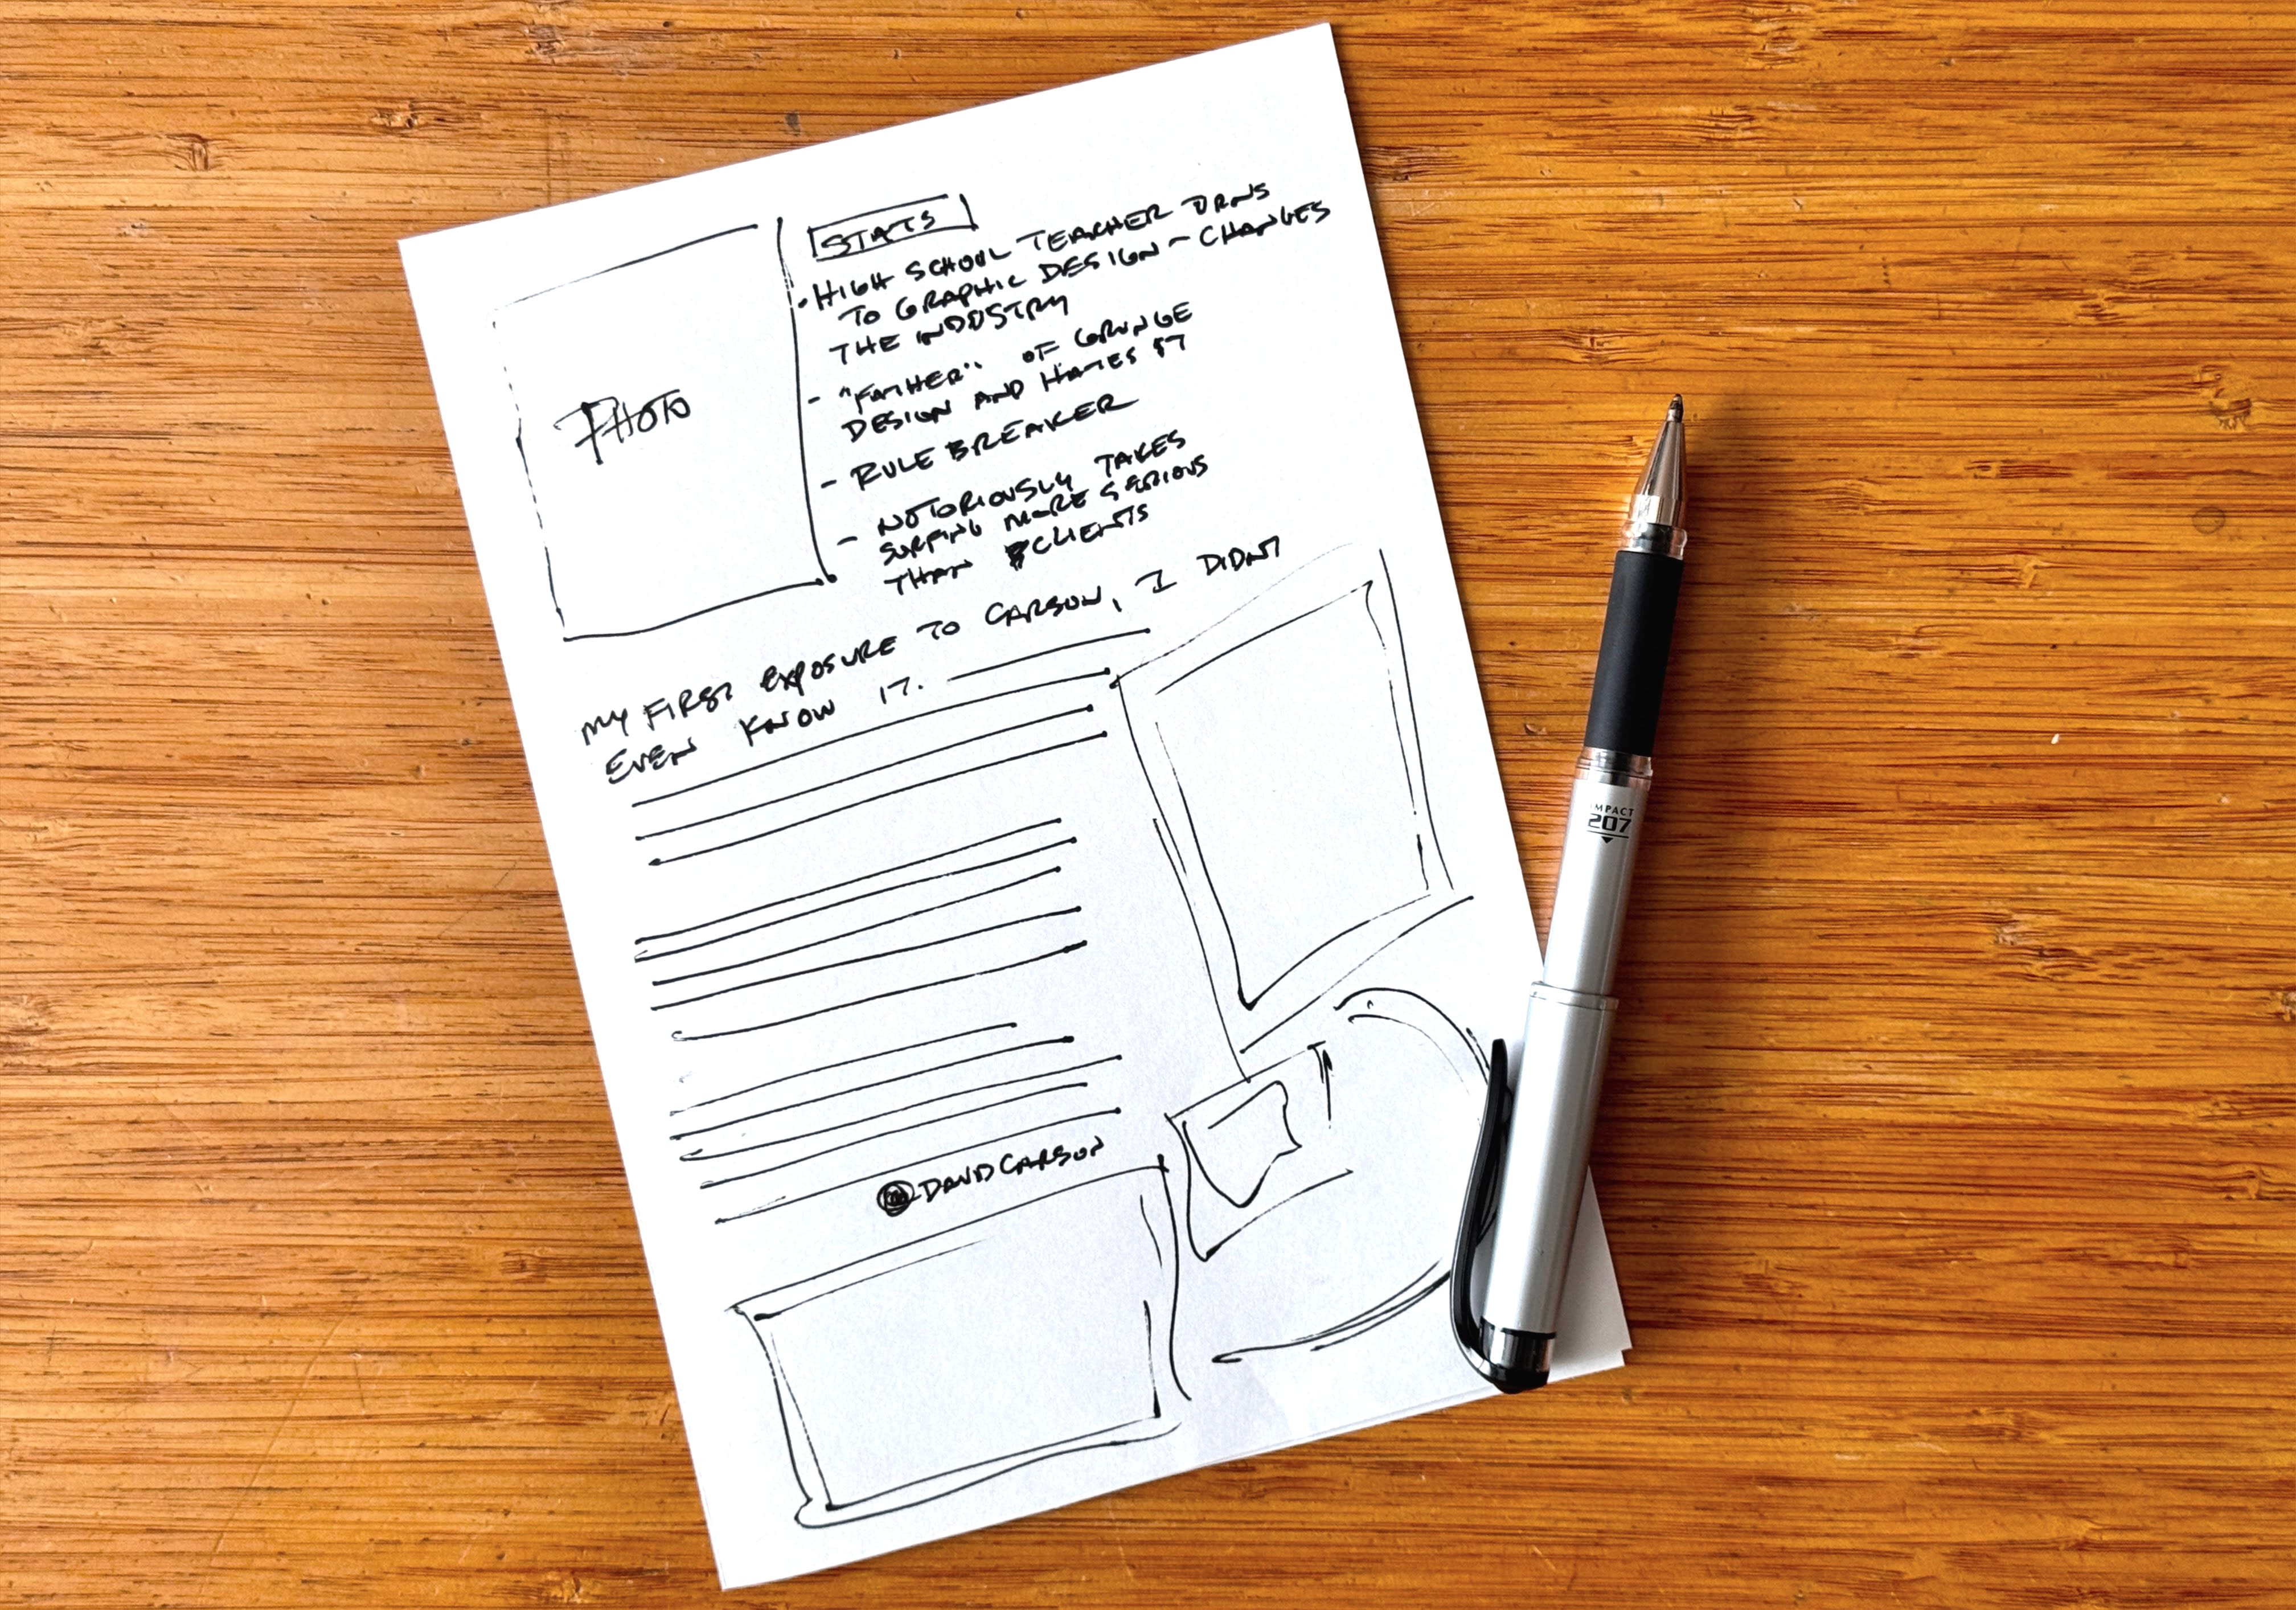
Step 4: Use an outline
This is not required, but a little pre-planning helps remove intimidation and becomes a small task list for the project. Try to think of things in pages or as spreads of two opposing pages.
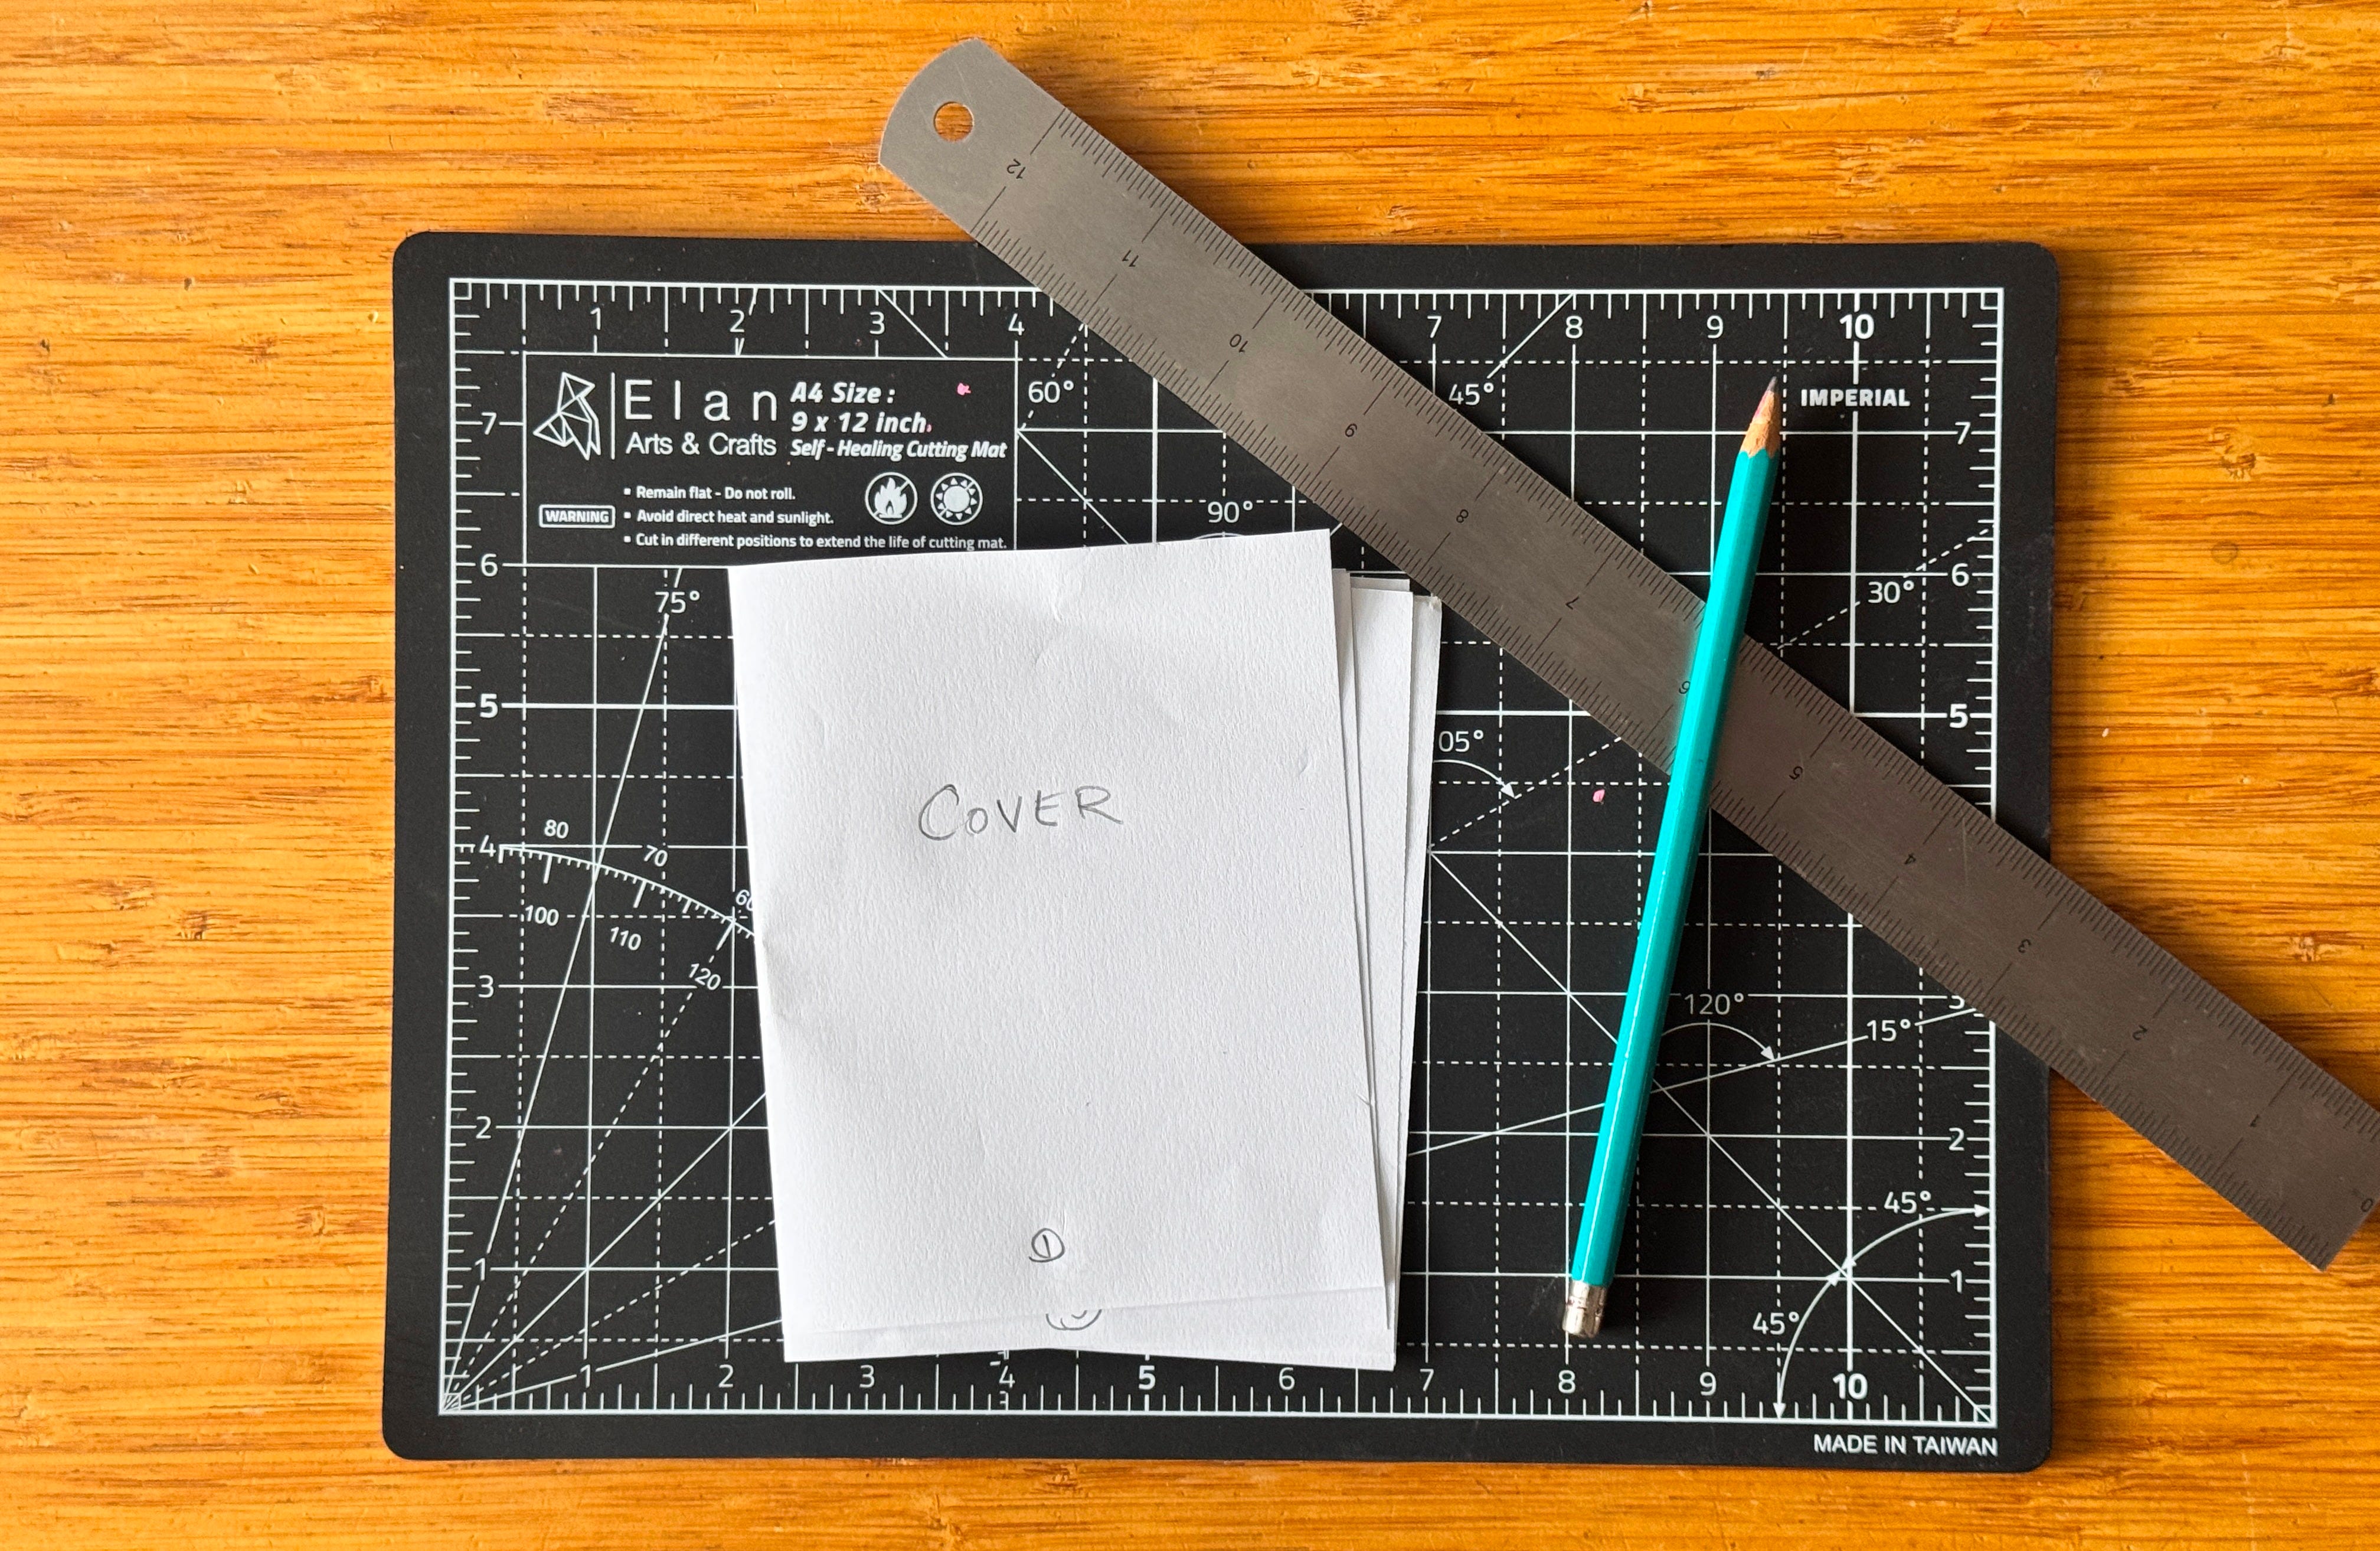
Step 5: Make a physical mockup
Grab some paper—three or four pieces of plain white paper will do. Stack them tightly together, and fold them in half. Precision isn’t crucial for this mockup.
Number each page at the bottom, starting with the cover as page 1, and with a pencil, unleash the synopsis of your idea onto each page.
You can keep the inside front and back covers blank, but there are no rules. Do whatever you want.
Unlike self-talk, negative space is cool. It helps your idea breathe and the reader’s eyes to relax. Just like purging all the bad vibes of your former life to give yourself room to think, you can air out your pages with space.
Step 6: Page layout time
You can build your zine by hand, going old school with scissors, glue, and tape, or you can use a page layout program like Adobe InDesign, Affinity Publisher, or Canva.
Relinquish all preconceived notions of which process is best and use whatever makes you feel comfortable in the work. All tools are valid—you can plunge a nail with the heel of your shoe nearly as well as a hammer.
If you’re building in an app, make sure to test your layout by printing it out. Hopefully you used the original mockup as your layout sherpa to guide your progress.
A brief note on pages
More pages means more overall cost, but it’s important to remember to give every section or segment of your zine an appropriate amount of space. A good strategy is to keep individual ideas/concepts/topics together in either a page, spread of two pages, or multiple spreads.
With zines, the flip of a page acts like a visual trigger, telling the viewer that a new idea is coming. If you start an idea on a right-sided page but don’t finish it smoothly, carrying information over to the next page, it can be jarring.
E.g. Numbered or bulleted lists, splitting paragraphs, carrying over but not filing the next page only to start a new topic or idea halfway down (don’t do that, people will hate you for it).
Ok, that was super inside baseball stuff right there, but I couldn’t let you go out into the wild without some pro tips.
Step 7: Let’s print
If you want to print at home, do that. If you want to use the local copy shop, do that. NO RULES, MUTHA TRUCKA!!
If you wish, you can hand-draw and letter every page of every single copy of your zine. It will take you a long time and might cause carpal tunnel, but if that’s how you want to roll, get down with your bad self.
If you take it to a local copy shop, ask if they can collate, staple, and fold the books. If they say yes, be very stoked! Not all places do that much, but they may do a portion of it. If you get any of that bit done for you, be very stoked!
Step 8: Distribute that magic
Sell it, give it away, sneak it between books at a library or bookstore for people to find, or mix it up and do a little of each.
Zines are easily digestible, and if you’ve done a good job of sharing what you’re working on, others will look forward to a chance to get a copy from you.
The beauty of zines, especially low-budget or home printed ones, is you can print them on demand. Make a dozen or so, and if they sell out, make more.
If you are planning on selling but don’t have a selling platform or marketplace account yet, Etsy is easy to start and very zine-friendly. You can also use services like KoFi, BuyMeACoffee, or Gumroad. All of those are free to start and charge fees based on purchases. Or you can start a membership on Substack and distribute zines to paid members.
Step 9: Embrace your awesome
If you finish that zine, no matter what you do with it afterward, give yourself many high-fives. Throughout my life, I’ve self-published many books and zines, and each one requires considerable energy. Finishing should always be celebrated.
Now I’m off to finish mine so I can give myself all the kudos I deserve.
PS - If you’re interested in seeing my last zine project, I added it to my KoFi shop.

Layout Sherpa. I did laugh!
This is such a cool, and useful post! Thank you.
I’m stuck in the dead zone between steps 2 and 3. Sigh. Overthinking is my super power.
In the process of making a zine for the first time for my family of a trip we took and this has been very helpful